Trigger GitLab CI/CD from ReARM
N.B. This functinality is not part of ReARM Community Edition and is only available on ReARM Pro.
GitLab trigger integrations is done via triggering GitLab CI/CD schedules.
GitLab Part
You need to register a personal access token to trigger GitLab CI/CD schedules. In GitLab, click on your profile picture image, then click
Edit profile, and from there chooseAccess tokensin the left menu bar.On the Personal access tokens page, click on the
Add new token. Enter desired token name and expiration date. Select api permission scope. Then click onCreate personal access token. Note the created token value.In your GitLab repository, in your desired branch, create desired .gitlab-ci.yml with your pipeline, the most basic hello-world pipeline may look as following:
stages:
  - build

build-job:
  stage: build
  script:
    - echo "Hello World..."
In your GitLab project, in the left menu bar, select
Build->Pipeline schedules. Click onNew schedule. Enter desired description, choose any time zone and selectcustomschedule and opt for a nearly impossible schedule so that the pipeline almost never runs on its own, such as1 1 29 2 1. Note, that if you want to have schedules runs as well, select desired time zone and schedule CRON.Select pipeline branch and set any variable inputs if desired. Then click on
Create pipeline schedule.Once your pipeline schedule is created, click on the pencil icon in its row (
Edit scheduled pipeline) and note schedule id shown in the breadcrumbs on top of the screen after the # sign.
ReARM Part
Note that for integration triggers firing on approval policy events, you would need an Approval Policy configured; for firing on vulnerabilities or policy violations, you would need Dependency Track integration configured.
Organization-Wide CI Integration Part (requires Organization Admin permissions)
In ReARM, open Organization Settings menu. Under Integrations tab, in the
CI Integrationssub-section, click onAdd CI Integration.Enter description (try to make this descriptive as this will be used to identify integration).
Choose
GitLabas CI Type.Enter your GitLab Access Token noted above in the
GitLab Authentication Tokenfield.Click
Save. Your CI Integration is now created.
Component Part (requires User with Write permissions)
In ReARM, make sure you register your VCS repository that contains desired GitLab CI/CD script either via Component creation or via VCS menu item and the plus-circle icon.
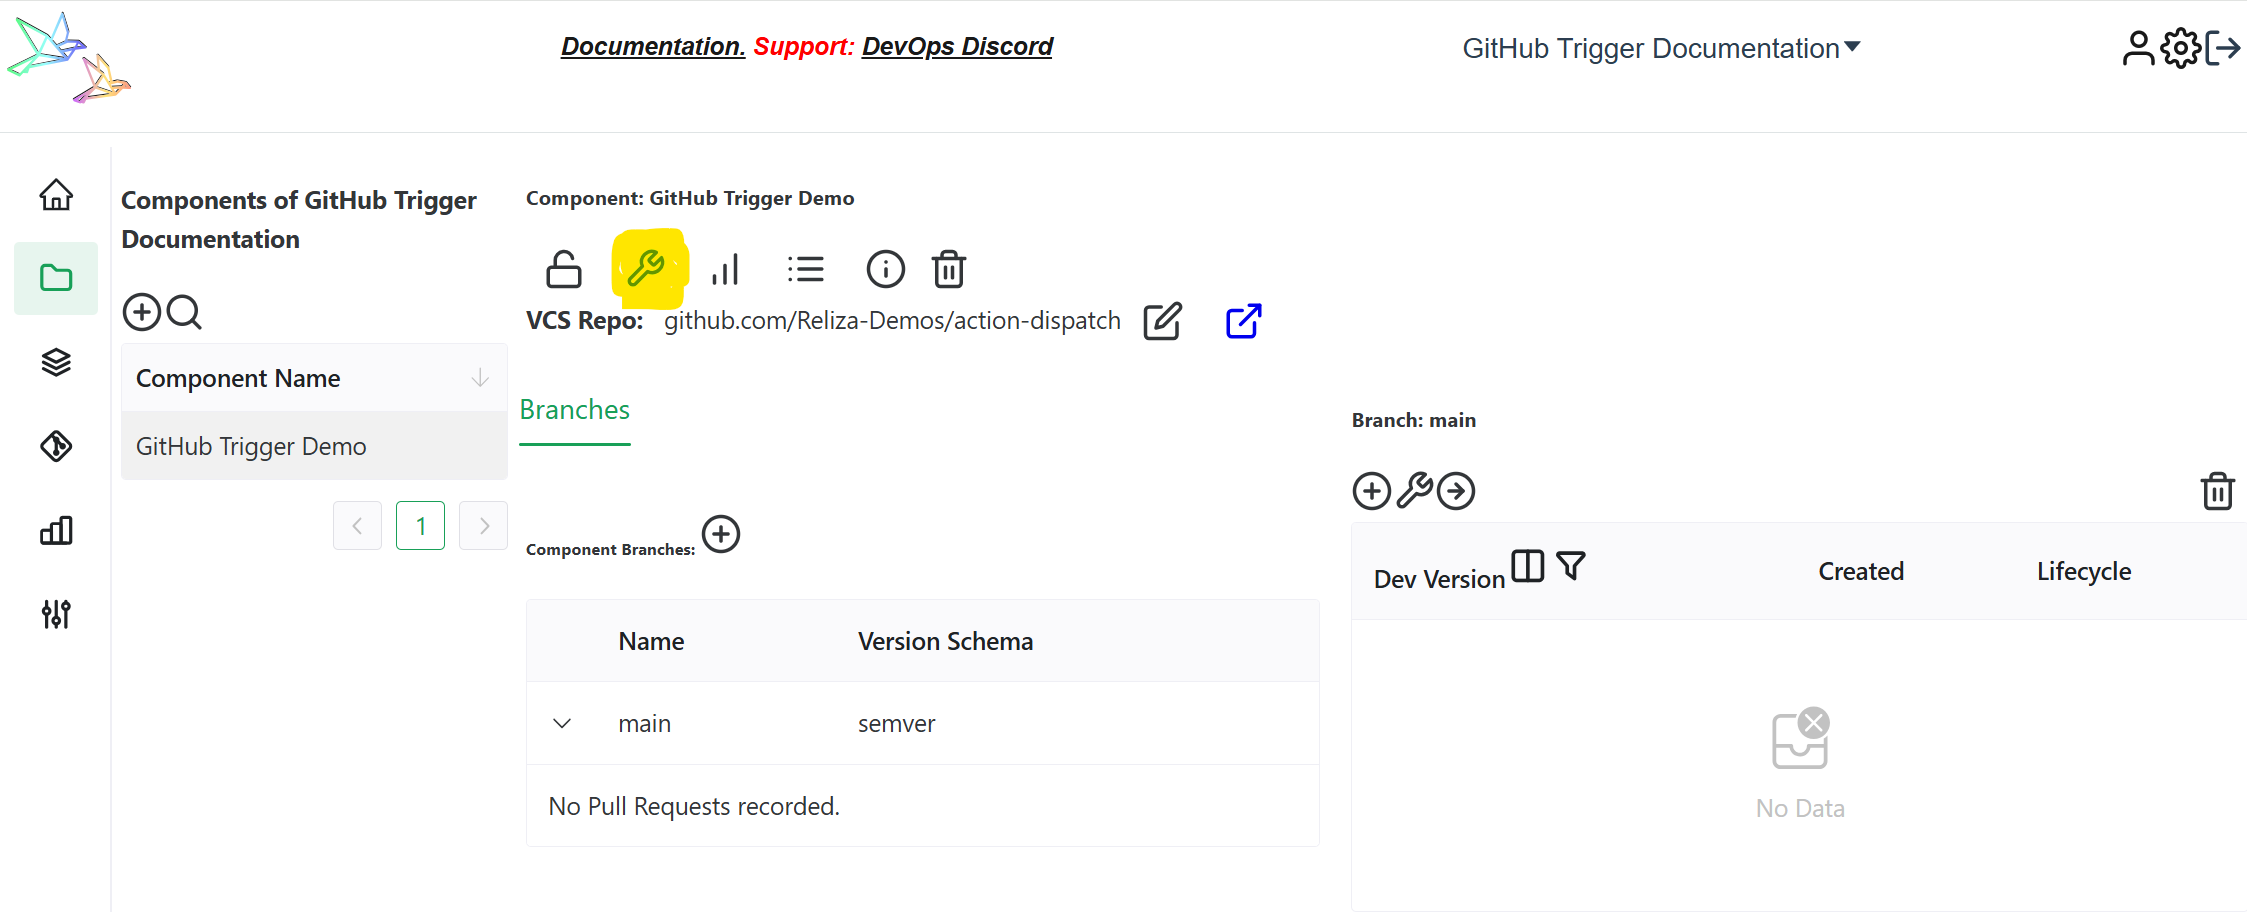
You need to set up a ReARM component that will have corresponding triggers configured. Once your component is created, open it and click on the tool icon to toggle component settings:
If you are setting triggers based on approvals, make sure you have Approval Policy selected under Core Settings tab.
Open Output Triggers tab and click on
Add Output Trigger.Enter name for your trigger, i.e.
Trigger GitLab CI/CD.Select
External Integrationas Type.Choose your previously created GitLab Integration in the
Choose CI Integrationfield.Enter your GitLab Schedule ID in the
GitLab Schedule Idfield as noted above.Under CI Repository click on the Edit icon and select your GitLab repository containing desired CI workflow set up above.
Click on 'Save', your trigger is now created.
Now create a Trigger Event linked to this trigger to make it fire on desired events (TODO - to be documented soon).